Extensor expansion: location and role in finger extension
Introduction
This article first presents knowledge of a specific part of human anatomy and then an effective study method.
In anatomy it is not enough to memorise the names of organs, muscles and bones: you also have to know where in the body each one is. That is why it pays to study as efficiently as possible.
I hope that reading this article and using the app helps you understand a little better.
This time we explain the extensor expansion and how to study human anatomy.
Download teamLabBody Pro for free
A 3D anatomy app that shows every structure of the human body
Download teamLabBody Pro here

What is the extensor expansion?
In the anatomy app you can view a selection of 3D anatomical models. Each model can be explored in several ways: the surface, cross-sections, the nervous system and more. This time we explain with the help of the anatomy app.
About the extensor expansion
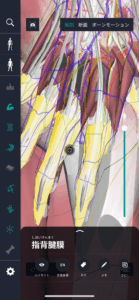
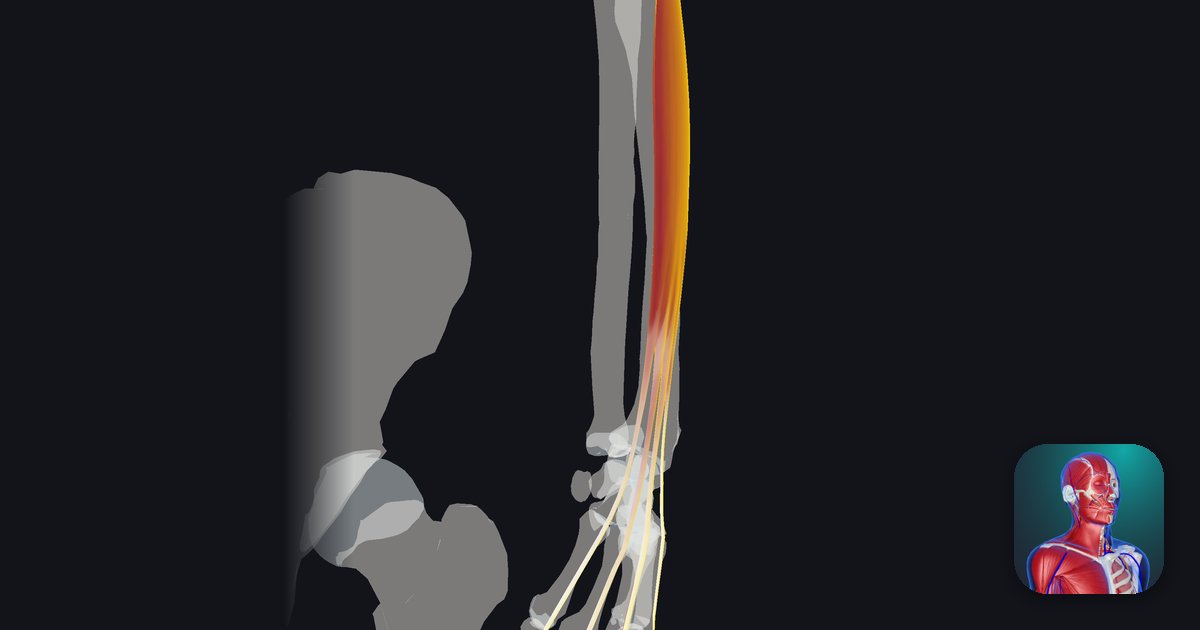
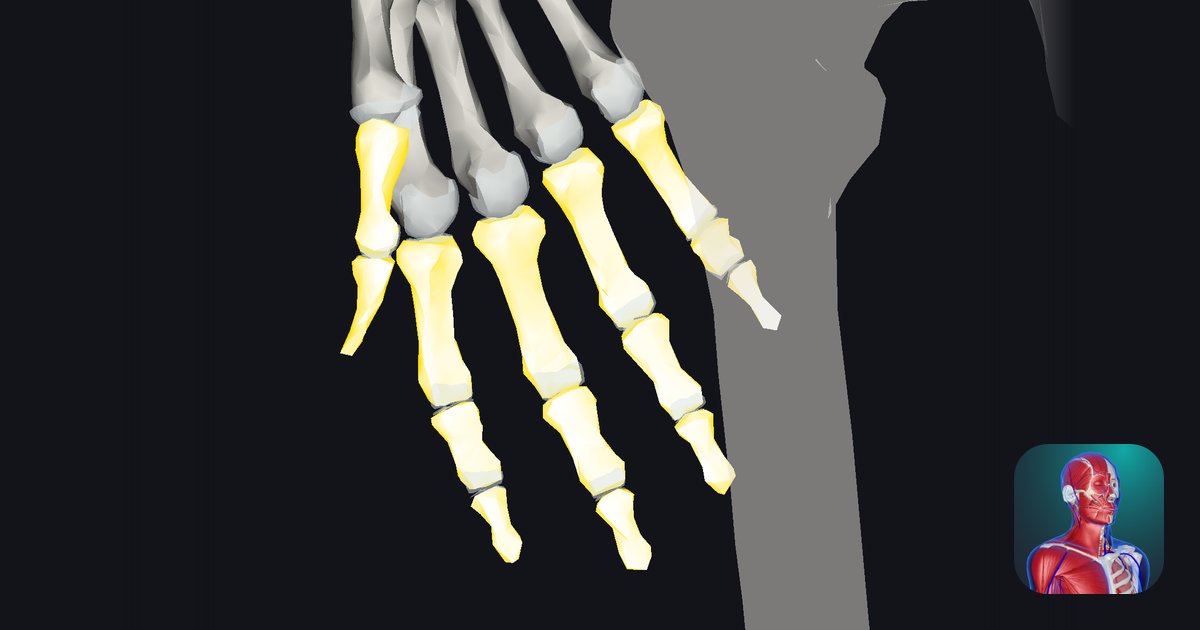
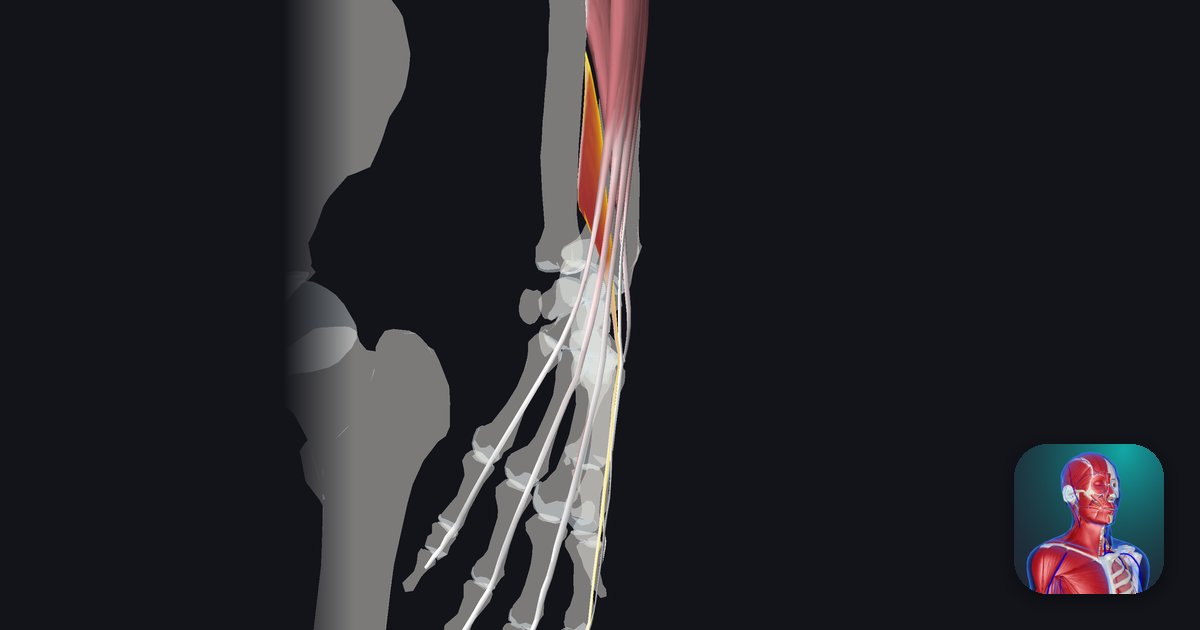
The extensor expansion is a thin, membrane-like structure on the back of each finger, formed where the tendon of the extensor digitorum spreads out like a fan. It begins on the back of the metacarpophalangeal (MCP) joint, covers the back of the proximal phalanx and attaches to the bases of the middle and distal phalanges. Not only the extensor digitorum tendon but also the tendons of the lumbricals and interossei join this sheet, gathering the force that straightens the finger into one sheet and carrying it to the fingertip. Thanks to the extensor expansion, the forearm muscles and the small muscles of the hand work together, so the three joints of the finger can straighten smoothly and the finger can make fine movements combining bending and straightening.
Learning points
Location and structure of the extensor expansion
The extensor expansion spreads over the back of the finger from the back of the MCP joint to the base of the distal phalanx. At the level of the MCP joint, fibres called the sagittal bands wrap from both sides of the expansion toward the palm and attach to the palmar plate, holding the extensor tendon in place so that it does not slip off the top of the joint. Over the proximal phalanx the expansion divides into three: the central slip in the middle attaches to the base of the middle phalanx, and the two lateral bands on either side join at the base of the distal phalanx to form the terminal tendon. The tendons of the lumbricals and interossei join the lateral bands, and on the back of the proximal interphalangeal (PIP) joint the left and right lateral bands are connected by the triangular ligament. In 3D, look at the finger from the side to see how the central slip and lateral bands divide, and from the back to see how the sagittal bands surround the joint.
Role and function of the extensor expansion
The main role of the extensor expansion is to distribute the force that straightens the finger to its three joints. When the extensor digitorum contracts, it first straightens the MCP joint through the sagittal bands, then the central slip straightens the PIP joint and the lateral bands straighten the distal interphalangeal (DIP) joint. The lumbricals and interossei, on the other hand, attach to the lateral bands, so they produce a movement the extensor digitorum cannot make on its own: bending the MCP joint while straightening the PIP and DIP joints. The finger positions you use when writing or pinching come from this combination. The lateral bands also shift slightly toward the palm when the finger bends and toward the back when it straightens, linking the movements of the PIP and DIP joints. By keeping the tendons over the joints and spreading the force, the extensor expansion makes finger extension smooth and stable.
The English name of the extensor expansion
In English the structure is called the “extensor expansion” or “extensor hood”. Expansion means “spreading out” and hood refers to a hood, after the way the extensor tendon spreads over the back of the MCP joint and covers the finger. Learn the English names of its parts as well: the sagittal band, the central slip, the lateral band, the triangular ligament and the terminal tendon, which attaches to the distal phalanx.
How to study human anatomy
Here are concrete study methods using a human anatomy app.
Review your learning history and practice repeatedly
Here are the steps to check your anatomy study history and review effectively.
1. Check your study history in the app
Checking your study history in the app is an important step for making effective progress in anatomy. First open the app and go to the history section from the main menu. Many anatomy apps show your progress in graphs or lists, so you can see which parts you have studied and how much time you spent on each.
With that data you can see where you are strong and where you need to invest more time and effort. It also helps to mark the parts you find difficult or need to relearn with tags or notes. Checking your history regularly and going back over what you have already studied leads to effective review and deeper understanding.
2. Plan your review
Planning your review from your study history is very effective for fixing knowledge. First identify your weak points and what you need to relearn. Then spread those topics over a weekly or monthly calendar and make a concrete study plan. Working to a plan lets you cover every part evenly and avoids cramming too much information at once.
It helps to use a task-management app or a digital calendar to set study reminders. It is also important to review your progress from time to time and adjust the plan if needed. Studying with goals and a plan is the most efficient way to acquire anatomy knowledge.
3. Learn visually with the 3D functions
With the 3D functions, anatomy becomes easier to understand visually. The 3D model shows the structure of the body in three dimensions and lets you observe each part in detail. This gives an intuitive grasp of the positional relationships between deep muscles and organs that are hard to see in a flat figure. For example, you can rotate a specific muscle or bone and zoom in and out to study every detail.
Many apps also show cross-sections of each part on the 3D model, which helps you understand internal structure. This variety of visual information aids memorisation and improves your responsiveness in exams and in practice. Learning visually with 3D lets you acquire anatomy knowledge more deeply and efficiently.
Use the notes function
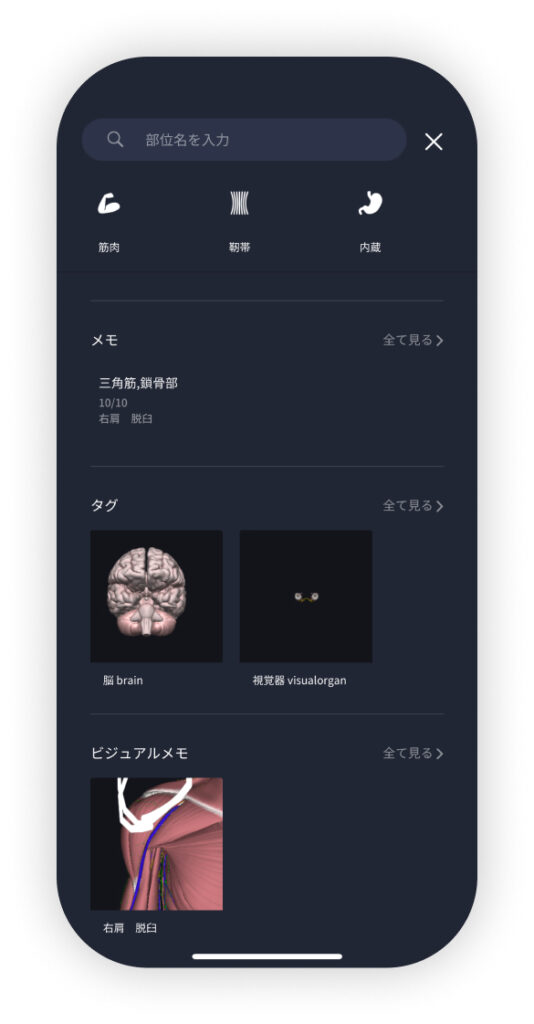
Write down what you notice and the key points while studying so you do not forget them. The notes function accepts text, images and handwritten notes, depending on what you need. Tag your notes so you can find them easily later.
Test yourself regularly with quizzes
Testing yourself regularly with quizzes is a very effective way to fix anatomy knowledge. Quizzes serve as review and, at the same time, show objectively how much you understand and what you are missing.
For example, if you do quizzes in a study app at regular intervals, you recheck what you have learned and strengthen your memory. There are many kinds of quizzes (multiple choice, fill in the blanks, short answer), and each helps you understand from a different angle and use different kinds of knowledge.
Get feedback
If you can, get feedback from other learners or experts. It helps you find what you do not understand and what you can improve. Testing yourself regularly also keeps you motivated: feeling your achievements and progress encourages you to keep studying.
Summary
This time we explained how to study the "extensor expansion" with an app!
Thank you for reading this far.
I hope this article helps you study anatomy.
Learning is a long road with no end, but I sincerely wish you success. Let's keep learning together and preparing for the exam!
Look out for the next article.